
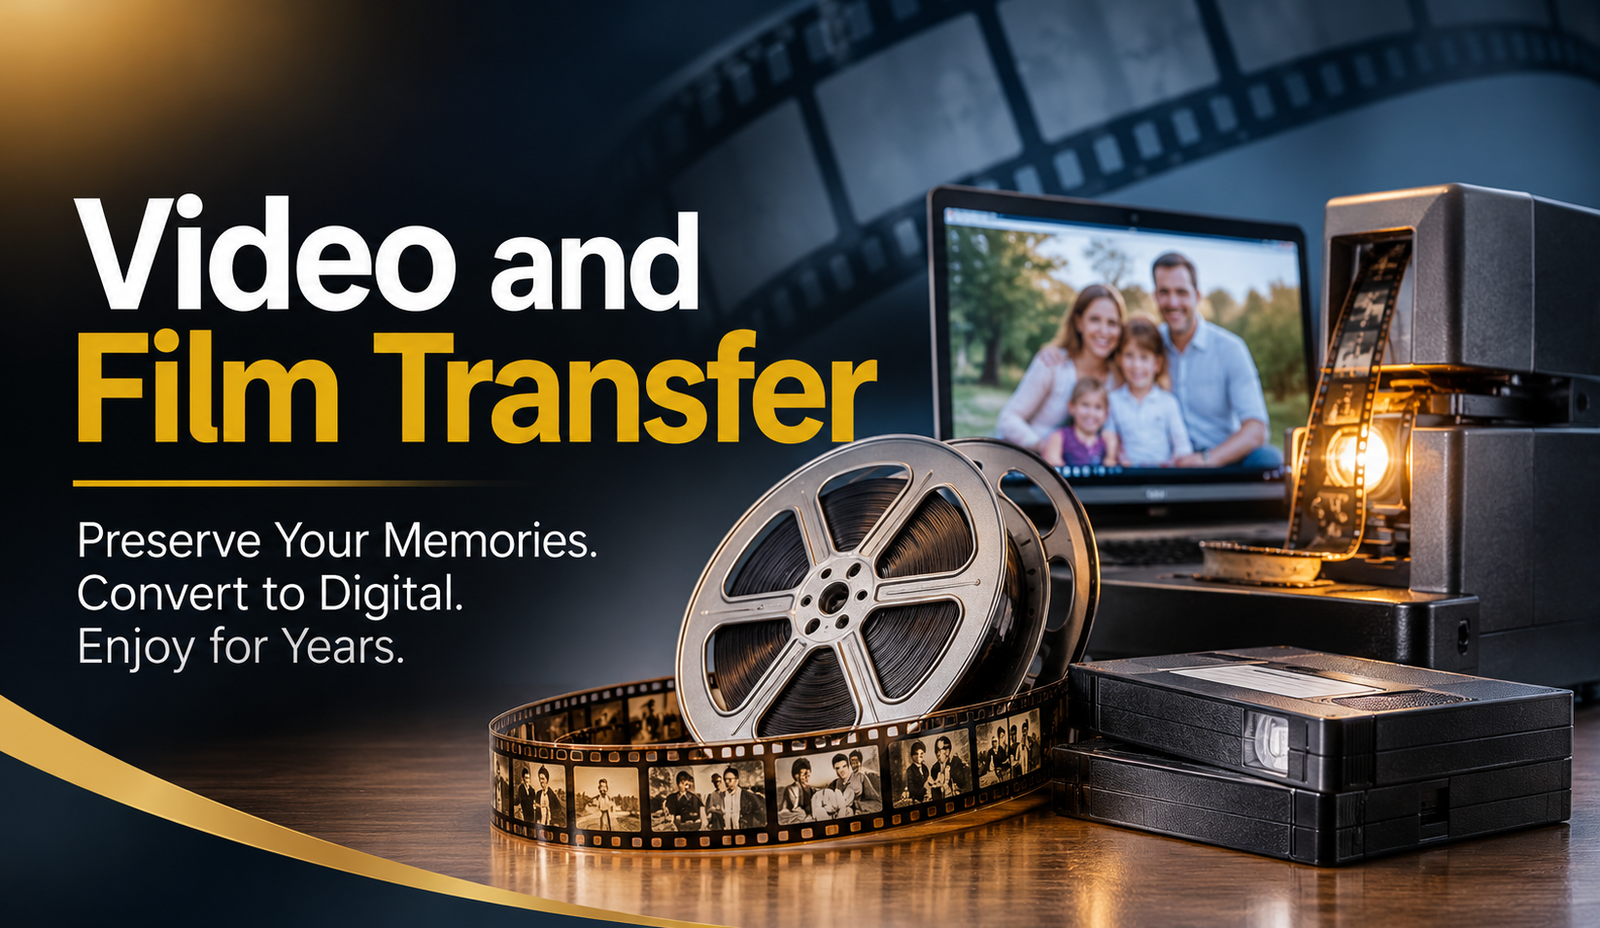
Old family videos and film reels often hold memories that people cannot recreate. From childhood birthdays and wedding ceremonies to family gatherings, business events, and historical recordings, these collections carry stories that deserve long-term preservation. However, many people still keep these recordings on VHS tapes, Super 8 reels, 8mm films, and other outdated formats without realizing how difficult they may become to access over time.
For businesses, archives, and families, damaged tapes, aging playback equipment, and limited storage options create practical challenges. A recording that once played perfectly may now produce distorted images, unclear audio, or unexpected playback interruptions. Professional Video and film transfer services help people move these recordings into modern digital formats while preserving their original content.
The conversion process involves more than connecting an old player to a computer. We need to consider the original recording format, playback equipment, video quality, audio condition, file format, and long-term storage requirements. Understanding these factors helps you make better decisions and avoid common mistakes during the transfer process.
Why Should You Convert Old Film Reels and VHS Tapes into Digital Formats?
Old recording formats depend on physical media and specialized playback equipment. Unlike modern digital videos, VHS tapes and film reels can deteriorate with age, moisture, heat, dust, and improper storage.
Converting these recordings into digital files makes them easier to access, organize, share, and preserve. It also reduces the need to handle fragile original media whenever someone wants to watch an old recording.
Protect Family Memories from Physical Deterioration
Magnetic VHS tapes can lose signal quality over time. Repeated playback, poor storage conditions, and exposure to magnetic fields can affect the recorded information. Film reels also face problems such as scratches, fading, shrinkage, dust accumulation, and damaged perforations.
Digital conversion gives you a practical way to preserve the content before these problems become more serious. Although digital files still require proper backups, they eliminate the need to rely entirely on aging physical media.
Make Old Recordings Easier to Watch
Finding a working VHS player or film projector has become increasingly difficult. Even when someone owns the equipment, replacement parts and maintenance can create additional expenses.
Digital files solve much of this inconvenience. You can watch converted recordings on computers, smartphones, tablets, smart TVs, and other compatible devices without searching for outdated playback equipment.
Share Important Recordings with Family and Colleagues
Physical tapes and reels make sharing difficult, especially when family members or business partners live in different locations. Digital files allow you to send recordings through secure cloud storage, external drives, or other sharing platforms.
For businesses, this approach also makes historical presentations, archived events, training recordings, and promotional footage easier to retrieve.
Identify Your Original Film or Video Format Before Conversion
Before starting the transfer process, identify the type of recording you own. Different formats require different playback equipment, handling methods, and conversion techniques.
We often recommend checking the original media first rather than purchasing equipment immediately. A format that looks similar to another may require completely different handling.
VHS and VHS-C Tapes
<image_placeholder>
VHS tapes store video and audio information on magnetic tape inside a plastic cassette. Many households used them for home videos, television recordings, weddings, and family events.
VHS-C tapes use a smaller cassette design but follow a similar recording principle. Some VHS-C recordings require a compatible adapter before playback in a standard VHS player.
For conversion, you need a compatible VCR, a video capture device, and suitable software. Before playback, check the cassette for damaged housing, loose tape, mold, or other visible problems.
8mm and Super 8 Film Reels
<image_placeholder>
8mm and Super 8 films often contain older family recordings, travel footage, weddings, and historical events. These formats use physical film rather than magnetic tape.
A film scanner or suitable frame-by-frame transfer system can capture the images and create a digital video file. The process requires careful handling because scratches, brittle film, shrinkage, and damaged splices can affect the results.
Super 8 film sometimes includes a separate magnetic or optical soundtrack. If the recording contains sound, confirm that the transfer equipment supports the soundtrack before starting.
Betamax and Other Legacy Video Formats
<image_placeholder>
Some families and organizations still own recordings on Betamax, Video8, Hi8, MiniDV, and other legacy formats. Each format requires compatible playback equipment and an appropriate transfer method.
For example, Video8 and Hi8 recordings need compatible camcorders or playback decks. MiniDV recordings can support digital transfer through compatible digital connections, which may preserve the original recording more accurately than an analog capture method.
Identifying the exact format helps prevent equipment incompatibility and unnecessary handling.
How to Convert VHS Tapes into Digital Files
VHS conversion requires a working playback device, a capture connection, and software that can record the incoming video signal.
For a small collection, a DIY setup may provide a practical solution. However, valuable or fragile recordings deserve additional attention because incorrect connections and repeated playback can affect the original tape.
Step 1: Inspect Your VHS Tapes
Start by examining each cassette. Look for cracked plastic, damaged reels, loose tape, mold, or unusual discoloration.
Avoid inserting a visibly damaged or contaminated cassette into a VCR. Mold and loose tape can create additional problems inside the playback mechanism.
We also recommend writing down the cassette labels and organizing recordings by date, event, or family member. This simple step makes file naming and organization much easier later.
Step 2: Connect a Compatible VHS Player
Connect the VCR to a video capture device using compatible RCA connections or an appropriate S-Video connection.
RCA connections usually include:
- Yellow for composite video.
- White for left audio.
- Red for right audio.
S-Video can provide better video separation than composite connections when both devices support it. However, it does not carry audio, so you still need separate audio connections.
Check every connection before recording. A loose audio cable or incorrect input setting can result in missing sound or an incomplete recording.
Step 3: Install Video Capture Software
Connect the capture device to your computer and install compatible recording software. Many capture devices include their own software, while other programs support a wider range of video inputs.
Before recording the entire tape, capture a short test section. Check the picture, audio synchronization, aspect ratio, and playback stability.
A five-minute test can help identify problems before you spend several hours transferring an entire collection.
Step 4: Record and Monitor the Video
Play the VHS tape and start capturing the incoming signal. Monitor the recording throughout the process, especially when working with older tapes.
Look for common issues such as:
- Horizontal lines or tracking problems.
- Sudden picture distortion.
- Audio dropouts.
- Incorrect aspect ratios.
- Audio and video synchronization problems.
Some VHS players include tracking controls that can improve playback. However, severe damage may require professional equipment or specialist attention.
Step 5: Save and Check the Digital File
After recording, save the video in a suitable digital format. MP4 with H.264 encoding offers broad compatibility with modern devices and media players.
Play the complete file before considering the transfer finished. Check the beginning, middle, and ending sections, and confirm that the recording includes the expected sound and picture.
How to Convert Old Film Reels into Digital Video
Film conversion requires a different approach from VHS transfer. Film reels contain individual photographic frames, so the conversion process must capture those frames and combine them into a digital video.
The equipment and process depend on the film gauge, frame condition, recording speed, and soundtrack.
Step 1: Check the Film Reel Condition
Inspect the film under suitable lighting. Look for scratches, dirt, broken splices, damaged perforations, and signs of shrinkage.
Do not force brittle film through a projector. An aging projector can scratch or tear film when the mechanism cannot handle its condition.
If you notice significant damage, consult a film transfer specialist before attempting playback.
Step 2: Identify the Film Gauge and Frame Rate
Common home movie formats include Standard 8mm and Super 8. Their dimensions and frame characteristics differ, so the scanning equipment must support the correct format.
Frame rate also matters. Older home movies may use different recording speeds, such as 16, 18, or 24 frames per second.
An incorrect playback speed can make people appear to move unnaturally fast or slowly. Confirm the original frame rate whenever possible to maintain a natural viewing experience.
Frequently Asked Questions
1. Can We Convert Old VHS Tapes into MP4 Files?
Yes. You can convert VHS recordings into MP4 files using a compatible VCR, video capture device, and recording software. A professional transfer provider can also handle the process using suitable equipment and export the finished recordings in MP4 format for convenient playback.
2. How Long Does It Take to Convert Old Film Reels into Digital Formats?
The transfer time depends on the film’s length, frame rate, condition, scanning equipment, and processing requirements. A short reel may take considerably less time than a large collection. Additional cleaning, repairs, color correction, and audio restoration can increase the overall project time.
Conclusion
Old film reels and VHS tapes contain memories, historical moments, and recordings that deserve careful attention. As playback equipment becomes harder to find and physical media continues to age, converting these recordings into digital formats offers a practical way to maintain access to their original content.
The best results start with identifying the original format, inspecting the media, choosing compatible transfer equipment, and selecting suitable digital settings. Careful audio and video checks, sensible file organization, and multiple backups also help protect the finished recordings.
At Laguna Digital, we understand the importance of preserving original visual content while maintaining practical standards for modern digital use. Whether you have a few family VHS tapes or a larger collection of historical film reels, Laguna Digital can help you explore suitable transfer solutions for your project.
Taking the time to digitize your recordings today can make those important moments easier to access, share, and enjoy for years to come.