

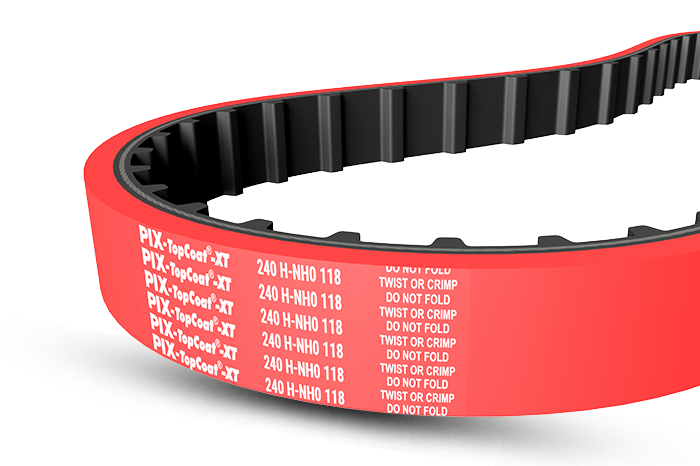
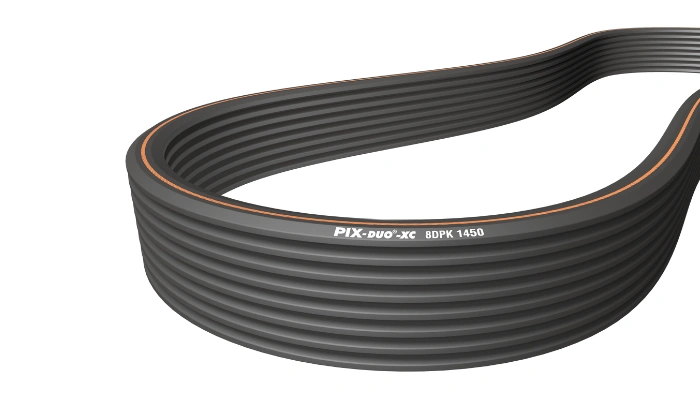
Machines often show small warning signs before a major breakdown happens. A strange sound, a slight vibration, or a drop in performance may not seem serious at first. However, these small issues can point to a hidden problem inside the machine. In many cases, the real reason is a worn-out belt. A Poly-V belt is one of the most important parts of many machines because it helps transfer power smoothly between moving parts. When the belt becomes weak or damaged, the entire system can suffer.
Many people ignore the early warning signs because the machine still works. But one unexpected belt failure can suddenly stop operations and create expensive repair costs. That is why learning how to replace a belt properly is very important. The good news is that replacing a Poly-V belt is easier than many people think. With patience and the right steps, the process becomes simple and safe.
Note:
If you are looking for trusted support and reliable solutions related to Poly-V Belt(สายพาน Poly-V) systems, PIX Thailand can help with valuable industry knowledge and quality products for different applications. Contact them to learn more about proper belt maintenance and replacement solutions.
Why Replacing a Poly-V Belt Is Important
A machine depends on smooth movement to work correctly. The Poly-V belt helps maintain that movement by connecting different components and allowing power to pass efficiently. Over time, constant pressure, heat, dust, and friction slowly weaken the belt. As the damage increases, the belt loses its grip and performance.
Many machine owners wait until the belt breaks completely before replacing it. This can lead to sudden downtime, damaged machine parts, and loss of productivity. In some situations, one failed belt can affect the entire production system. Replacing the belt at the right time helps avoid these problems and keeps the machine running smoothly for a longer period.
Signs That a Poly-V Belt Needs Replacement
Machines rarely fail without warning. In most cases, the belt starts showing visible signs of wear long before it breaks. One of the most common signs is a squealing or chirping sound during operation. This often happens when the belt starts slipping on the pulleys. Cracks on the surface of the belt are another warning sign that the material is becoming weak.
Some belts may develop shiny or smooth surfaces, which means the outer layer has hardened because of heat and friction. Frayed edges can also appear if the pulleys are not aligned properly. Sometimes the machine may simply lose efficiency, and operators may notice reduced performance without understanding the reason.
| Warning Sign | Possible Meaning |
|---|---|
| Cracks on the belt | Belt material is aging |
| Squealing noise | Belt slipping or loose |
| Frayed edges | Pulley alignment problem |
| Burning smell | Excess heat or friction |
| Reduced performance | Poor power transfer |
| Shiny belt surface | Belt becoming hard and worn |
Ignoring these signs can turn a small maintenance task into a major machine problem.
Preparing Before Starting the Replacement
Preparation is one of the most important parts of the process. Before touching the machine, gather all the necessary tools and equipment. This helps save time and prevents unnecessary interruptions during the replacement process.
Basic tools such as gloves, safety glasses, wrenches, screwdrivers, and a clean cloth are usually enough for most belt replacements. Having the correct replacement belt ready is also important. Using the wrong belt size can create serious performance issues later.
Safety should always come first. Before starting the work, completely turn off the machine and disconnect the power supply. Wait until all moving parts stop fully. Some people rush through this step because they believe the machine is already safe, but accidents can happen quickly when safety procedures are ignored.
Removing the Old Belt
Once the machine is safe, locate the belt system. In many machines, the Poly-V belt is protected by a cover or guard. Carefully remove the cover and observe how the belt is routed around the pulleys. Taking a photo before removal can be extremely helpful later during installation.
The next step is releasing the tension. Most belts remain tightly stretched because tension keeps them working properly. Depending on the machine design, you may need to loosen adjustment bolts or move the tensioner pulley carefully. Once the tension is reduced, slowly slide the old belt off the pulleys.
This is a good time to inspect the old belt closely. Many people become surprised when they notice deep cracks, missing ribs, or uneven wear patterns. These signs can also reveal other hidden machine issues that may need attention.
Inspecting the Pulleys Before Installation
Many people think the job is complete once the old belt is removed. However, one important step still remains. The pulleys must be inspected carefully before installing the new belt.
Dirty or damaged pulleys can quickly ruin a brand-new belt. Dust, oil, rust, or worn grooves may reduce belt life significantly. Use a clean cloth to remove dirt and check for sharp edges or damage. If the pulleys are badly worn, replacing only the belt may not solve the problem completely.
This step is often ignored, but it can make a huge difference in the overall performance and lifespan of the new belt.
| Inspection Area | What to Check |
|---|---|
| Pulley grooves | Wear or uneven surfaces |
| Belt alignment | Proper positioning |
| Surface cleanliness | Oil, dirt, or grease |
| Tension system | Smooth movement |
| Belt fit | Correct size and routing |
Even small pulley problems can create large issues over time.
Installing the New Belt
Before placing the new belt into position, compare it with the old one. The length, width, and rib pattern should match properly. Even a small size difference can affect machine efficiency and belt life.
Begin installing the new belt around the pulleys using the same routing pattern as before. Start with the larger pulleys and slowly guide the belt into place. Make sure the ribs fit properly into the pulley grooves and the belt sits evenly across the system.
This part requires patience. Some people force the belt into position too quickly, which can twist or damage the belt before the machine even starts running.
Applying the Correct Belt Tension
One of the most important steps in the entire process is applying proper tension. A loose belt may slip and create noise, while an overly tight belt may damage bearings and create extra heat.
The belt should feel firm but not overstretched. If the machine manual provides tension instructions, always follow them carefully. Correct tension allows smooth power transfer while reducing unnecessary stress on the system.
Many belt problems happen not because of poor quality, but because the tension was incorrect during installation.
Testing the Machine After Installation
Before restarting the machine fully, rotate the system manually if possible. This helps confirm that the belt is seated correctly and there are no twists or alignment problems.
Once everything looks correct, reconnect the power supply and start the machine. During the first few minutes, pay close attention to how the machine behaves. Listen carefully for unusual noises and watch for vibration or belt movement.
This stage creates a little suspense because even small mistakes become visible once the machine begins operating. If the system runs smoothly and quietly, the replacement has been completed successfully.
Simple Ways to Increase Belt Life
A Poly-V belt can last much longer when proper maintenance is followed. Regular inspection helps detect early wear before serious damage happens. Keeping the pulleys clean and checking tension regularly can greatly improve performance.
Oil and grease should never come into contact with the belt because contamination weakens the material. Misaligned pulleys should also be corrected quickly to prevent uneven wear.
Small maintenance habits may seem unimportant, but they can prevent expensive machine failures in the future.
Conclusion
Replacing a Poly-V belt may seem difficult in the beginning, but the process becomes simple when handled step by step. Careful inspection, proper tension, and correct installation all play a major role in keeping machines efficient and reliable.
Machines often give small clues before something goes wrong. Those warning signs should never be ignored. A simple belt problem can slowly grow into a major shutdown if left untreated. Regular inspection and timely replacement help improve machine life, reduce downtime, and maintain smooth performance for daily operations.
Frequently Asked Questions
1. How often should a Poly-V belt be checked?
A Poly-V belt should be inspected regularly during routine machine maintenance, especially in machines that operate for long hours daily.
2. Can a damaged belt affect machine performance?
Yes, a worn or loose belt can reduce power transfer, increase noise, and lower machine efficiency.
3. What causes a Poly-V belt to wear out faster?
Heat, dust, improper tension, pulley misalignment, and oil contamination are common reasons for faster belt wear.
4. Is it safe to replace the belt without professional help?
Basic belt replacement can often be done safely if proper instructions and safety procedures are followed carefully.
5. Why is proper belt tension important?
Correct tension helps the belt transfer power smoothly while preventing slipping, overheating, and damage to nearby parts.
Social Links
- Facebook: PIX Trans Facebook
- Instagram: PIX Trans Instagram
- YouTube: PIX Trans YouTube
- LinkedIn: PIX Trans LinkedIn
- Google Maps: PIX Thailand Location
For more info visit reportrave